Authentication
How to check sneakers: the complete authentication guide
Price, box, shape, stitching, insole and sole: what to look at on a pair of sneakers, in the order an authenticator would, and the photos to take for a check.
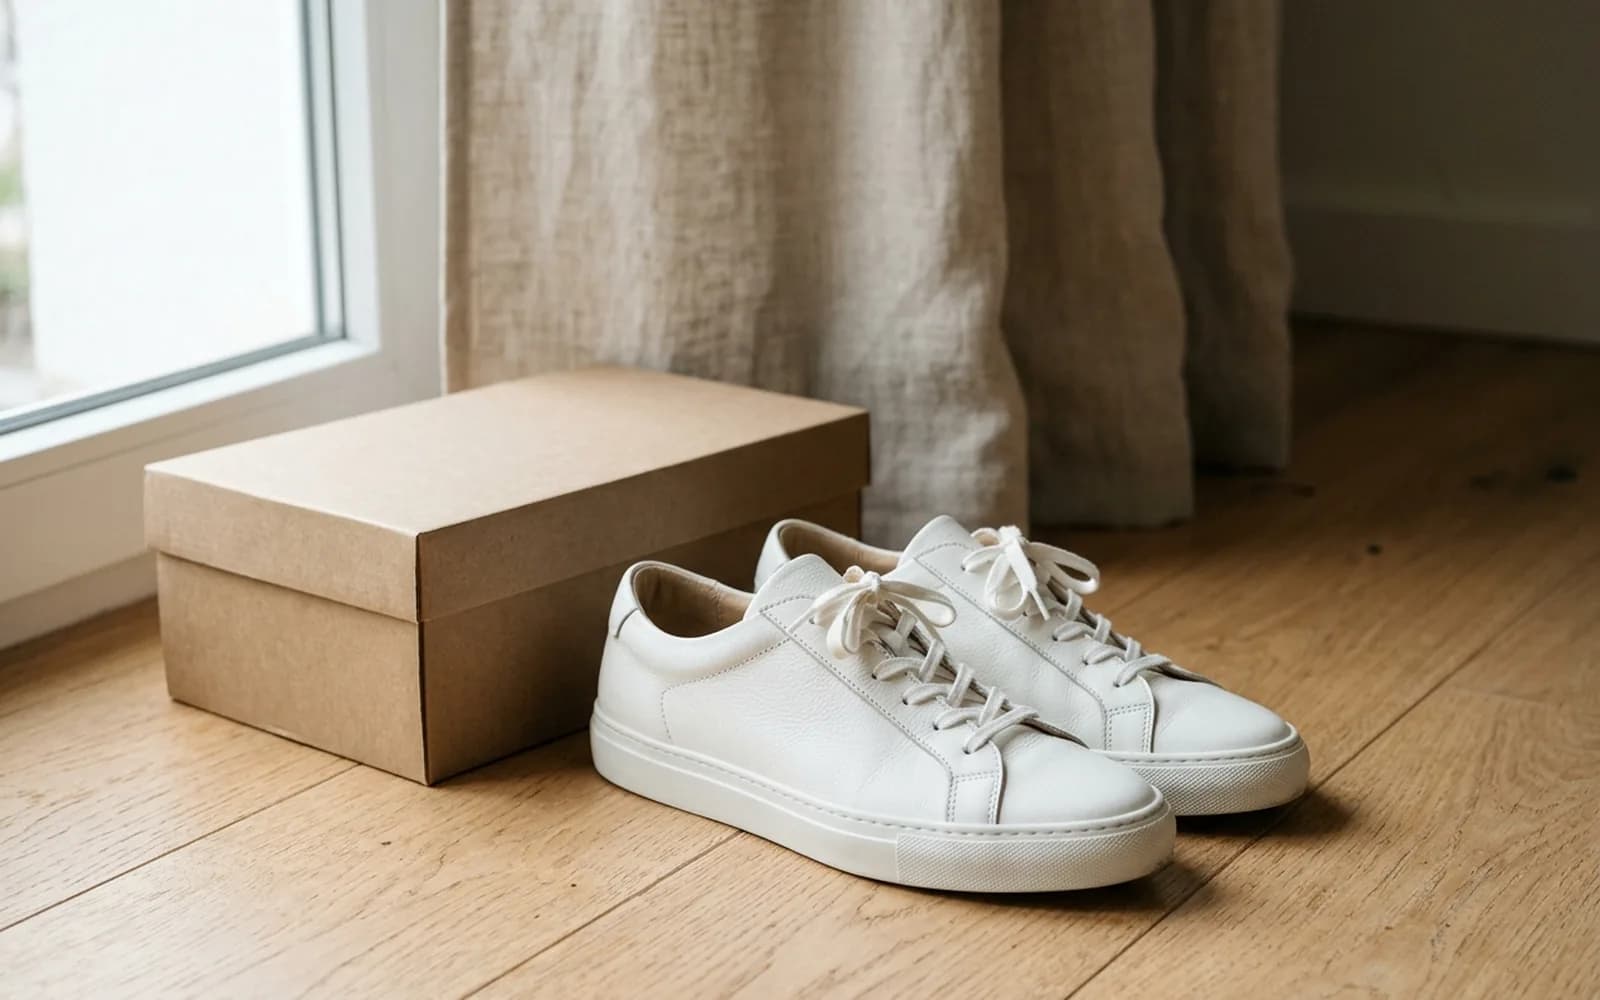
In short
- Before you look at a single stitch, look at the deal.
- Brands put real effort into their boxes, and the label on the end of the box carries details you can check against the shoe itself.
- Counterfeiters often get the details close but the overall shape wrong, because shape depends on the brand's own lasts and moulds.
Start with the seller and the price
Before you look at a single stitch, look at the deal. Most fake pairs give themselves away in the listing, long before the shoes are in your hands.
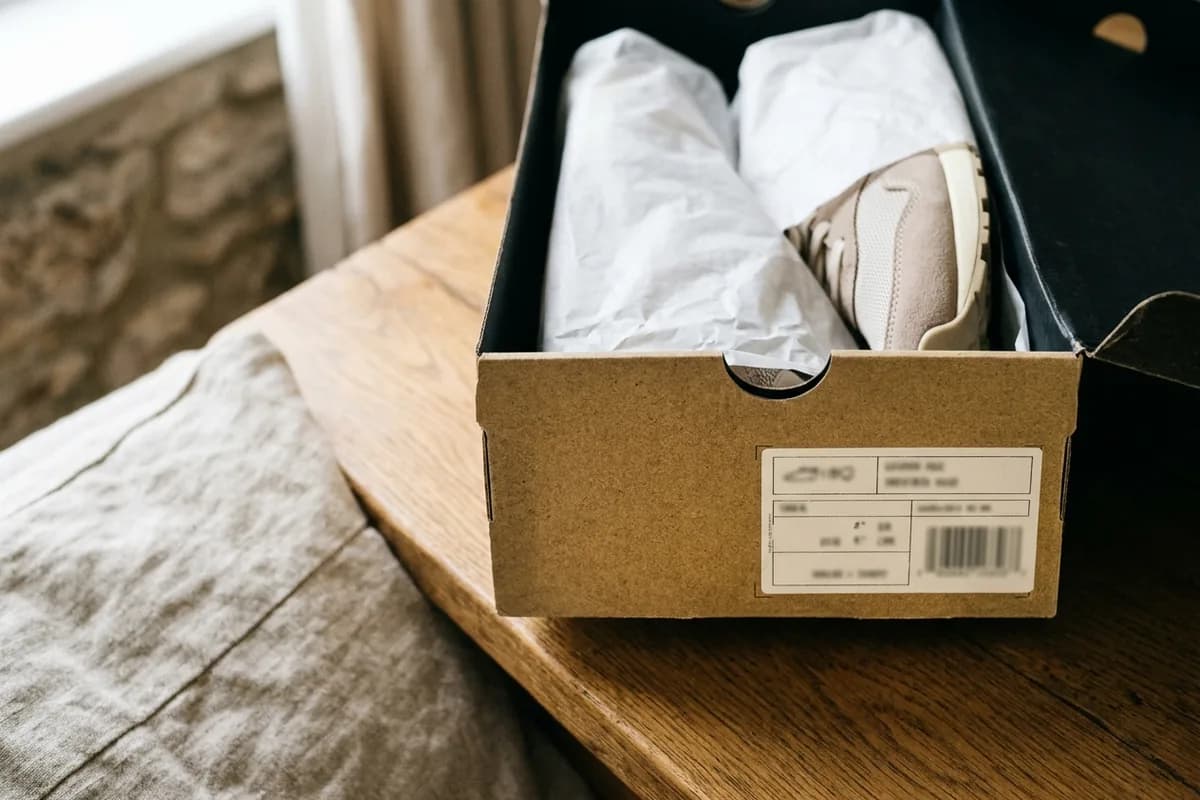
The box and its label
Brands put real effort into their boxes, and the label on the end of the box carries details you can check against the shoe itself.
Shape and proportions
Counterfeiters often get the details close but the overall shape wrong, because shape depends on the brand's own lasts and moulds. Compare the pair side by side with photos of a pair you know is genuine, from the same release.
- Toe box: the height and curve of the toe, and how far the toe cap reaches
- Heel: the profile seen from behind; several classic models have a distinctive curve that fakes flatten
- Collar and tongue: their height, padding and the angle they sit at
- Logos: the size and position of a swoosh, stripes or patch relative to the panels around them
Materials and stitching
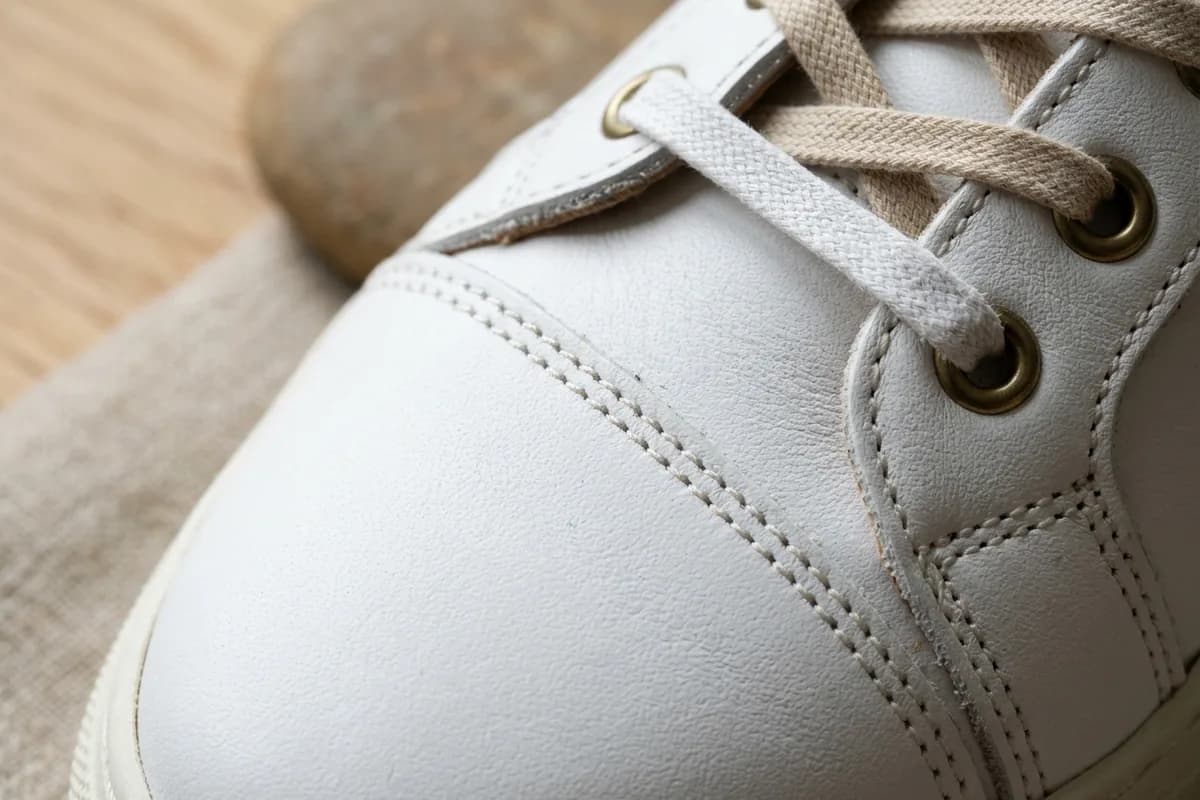
Run your fingers over the upper and look closely at the seams. Genuine pairs are made consistently: the same stitch length, the same spacing and the same thread colour along every panel.
Inside the shoe
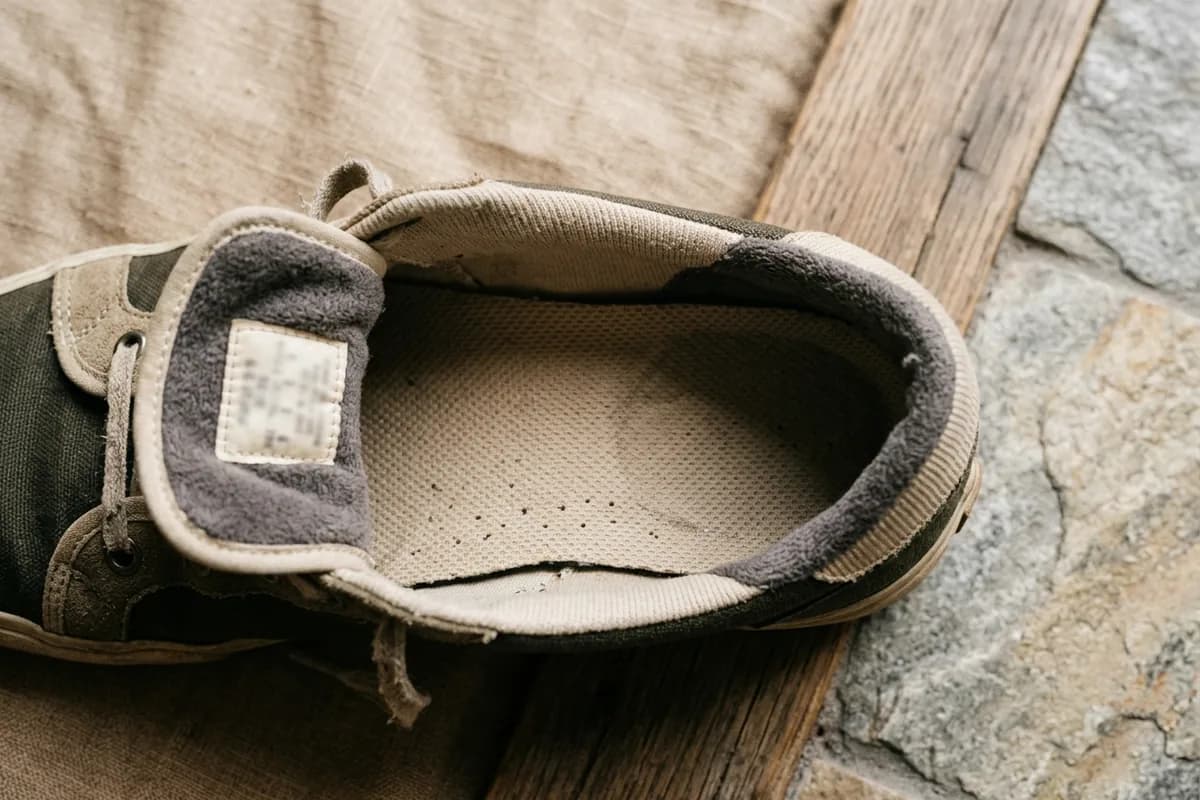
The inside is where many fakes cut corners, because buyers rarely look there.
The sole and the extras
- Tread: deep, crisp and identical on both shoes
- Cushioning: foams such as Boost have a recognisable pellet texture, and visible air units should be clear and evenly shaped
- Laces: the right colour, length and tips for that release, including any spare pair
- Weight: both shoes should feel the same, and close to a genuine pair of the same size
Photos to take for a check
For a VerifAI check, use daylight or even indoor light and no filters. These are the shots that carry the most evidence:
- Both sides of one shoe, and the heel straight on
- The sole and tread, flat and in focus
- The size label inside the shoe
- Stitching and logo details, close up
- The label on the end of the box
A quick check reads up to 4 photos. Deep VerifAI reads up to 8, so add the insole and the toe box when you use it.
Next up
How to check designer clothing: labels, tags and seams
3 min read